
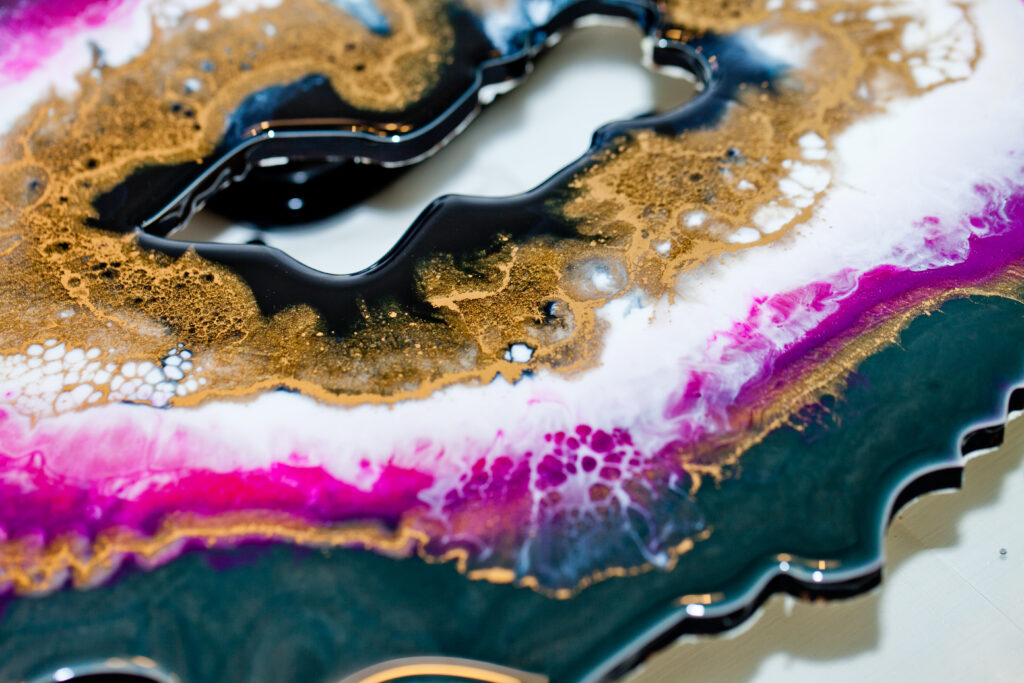
This is a collaborative post: If you’ve been paying attention to the artistic corners of social media over the last few years, then you might have noticed a trend toward resin art. From beautiful images of clear blue seascapes to gorgeous (and affordable) jewellery, to bookmarks, coasters and bowls, it’s a medium with a great deal to offer. So how exactly do you get started?
How does Resin Work?
When we talk about resin art, we’re mostly thinking of epoxy resin. This special material relies on two components: the resin itself, and the hardener. The latter transforms the former into a solid shape, once it’s been fixed into suitable shapes via silicon moulds. The result is a plastic that’s incredible glossy and clear, which is why it’s so popular for replicating liquid surfaces in solid form.
What do I need?
To make resin art there’s a few items you will need. We’ve highlighted some of the basic items below but you can build on this once you get more experienced with resin.
- Resin and hardener
- Mixing cups and wooden sticks
- Rubber gloves to protect your hands
- Silicon moulds to pour your resin into
- Heat gun
- Colour pigments, glitter, or dried flowers
It is also incredibly important to ensure that you’re working in a well-ventilated environment, and that children are supervised while working with the material. Wear a facemask or a respirator, and don’t leave anything to chance!
It’s worth noting that inexpensive epoxy resin tends to deliver slightly cloudy, nasty-looking results. While you might not want to spend lots of money on materials before you have a clear idea of what you’re doing, it’s important to make the switch to high-quality resin in order that every item you make looks as fantastic as possible.
How Long Does Resin Take to Cure?
Your resin will begin to set in a matter of moments, so it’s important to get pouring from the moment that you’ve made the mixture. Great resin art means having all of your materials organised, and being able to work quickly during those first 15 minutes! Curing, however, can take up to twenty-four hours. Thus, it’s critical that you find a level surface to rest your artwork on – as gravity can have a major impact on your results!
Dealing with bubbles
As the resin begins to harden, you might find that tiny bubbles remain trapped inside the medium. You can get rid of these with the help of a heat gun – but a better idea is to be proactive about the conditions in which you’re mixing. Choose a warm room, and make sure that all the surfaces you’re working with are similarly warm. Be careful also not to introduce too much air into the resin while you’re mixing it.