

Disclaimer: We were sent these Aquabeads to create this post free of charge, but words and pictures are mine. This post contains affiliate links, see more information here.
My kids love crafting and they find find creating pictures and 3D shapes out of Aquabeads great fun.
As long as you keep the beads contained to a tray then they’re an easy, mess-free craft, so I love them too.

How do Aquabeads work?
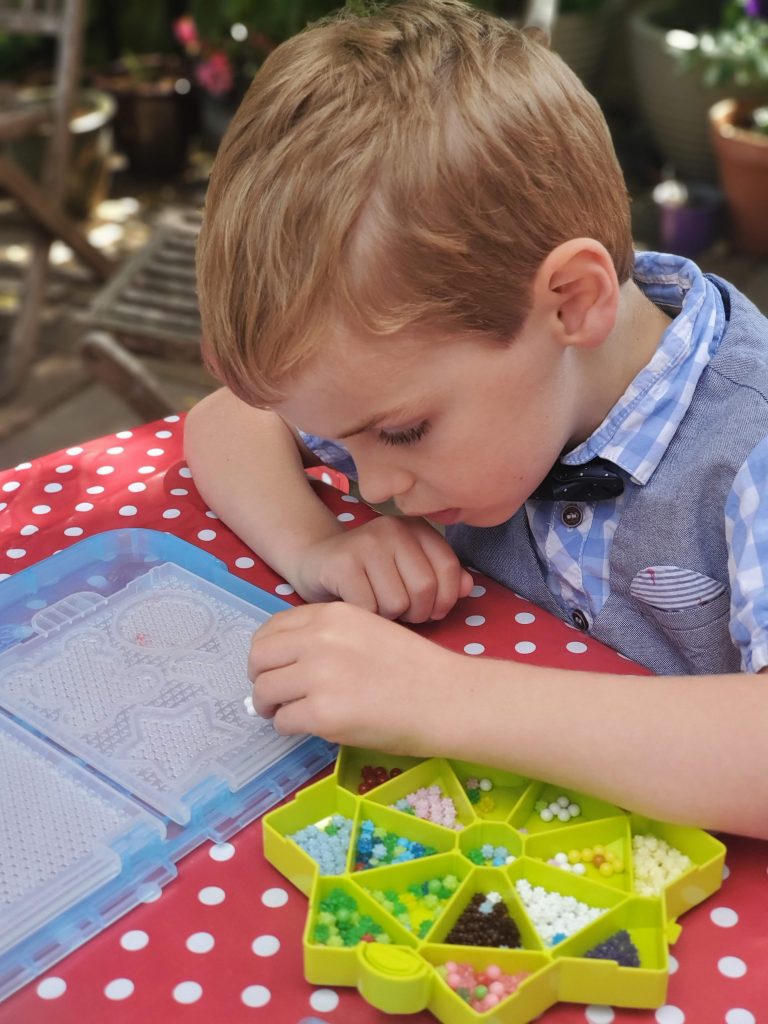
All you have to do to is put the little beads into the corresponding grooves in the tray which comes with each set. Once the beads are in the correct position – you can use a template or go freehand – spray with a little water and wait; within a few hours your shape will be magically stuck together!
At 5 and 6, the kids can now happily create their own characters using the supplied templates (or those printed off from the Aquabeads website) with no help from me, so it’s a brilliant rainy day activity when I need to get things done and need to keep them busy – with no arguing!
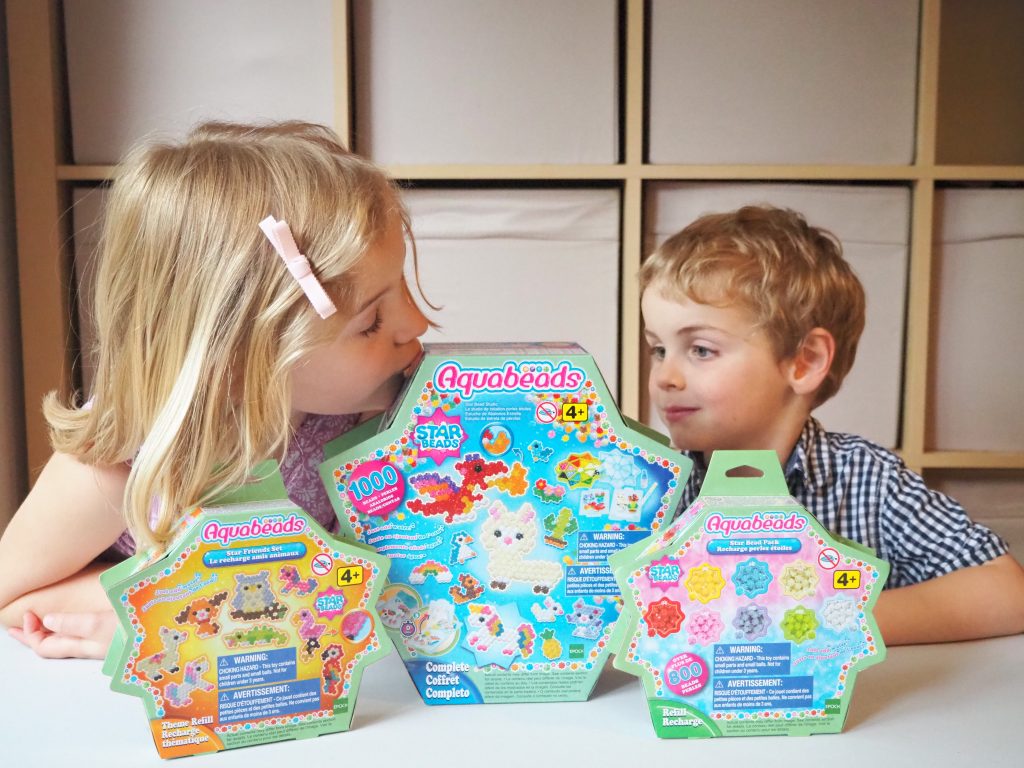
We have been challenged to create something new from Aquabeads!
We were sent some of the new Aquabeads Starbeads as well as a Deluxe Studio set to help us out.
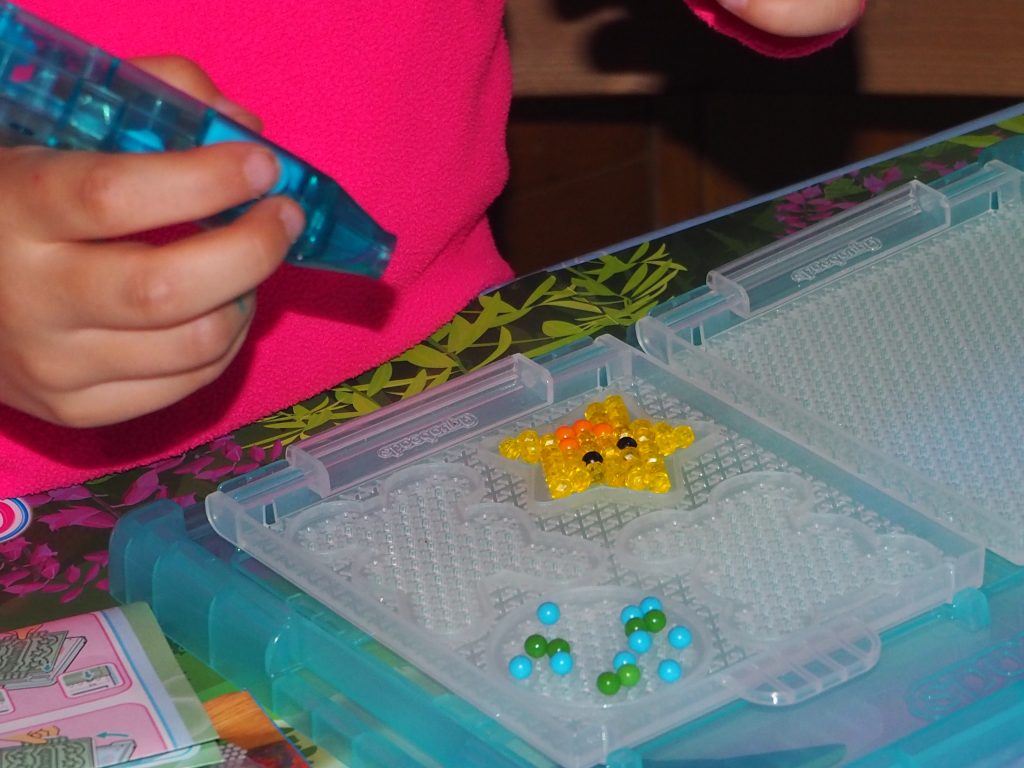
The new Aquabeads Starbeads are little star-shaped Aquabeads which can be used to make spiky shapes. They’re particularly good for making things like fire, stars and prickly animals!
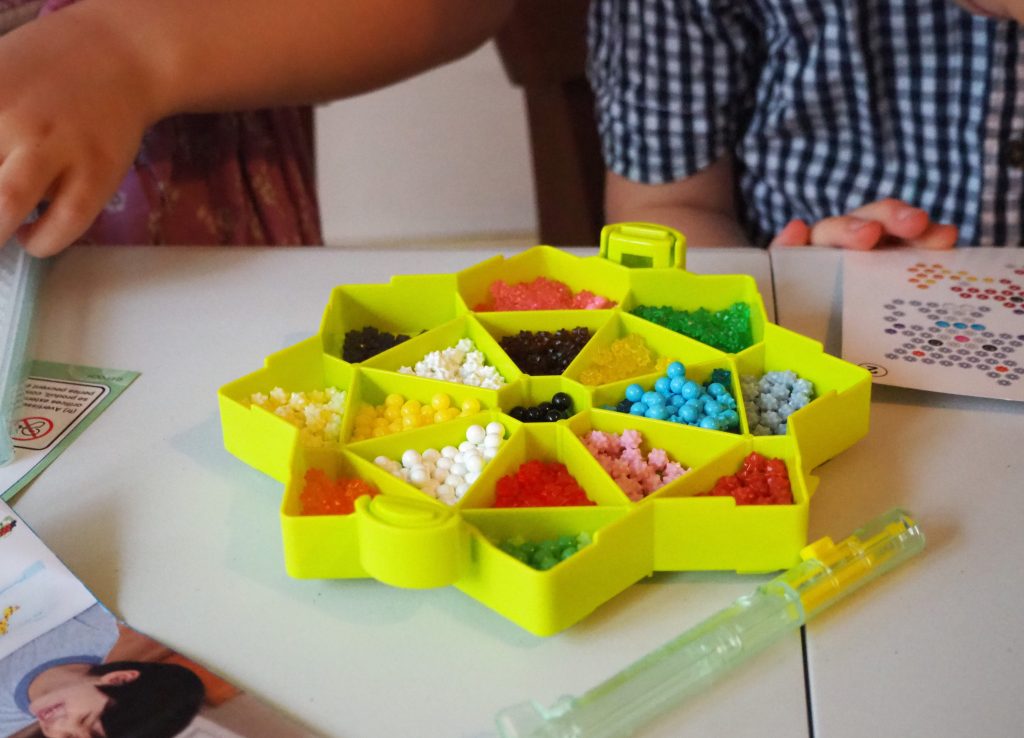
We did find they maybe didn’t hold together as easily as the original Aquabeads, but for small characters they look really cool!
The Deluxe Studio comes with over 1,300 jewels and solid beads in 24 different colours, storage box, rainbow pen, two flip trays which mean you can make more Aquabeads designs straight away, a sprayer, three double-sided template sheets and a book with extra templates inside.
Making an Aquabeads spinning space picture
You will need:
- A picture frame
- Some thumb tacks
- Needle and thread (invisible thread would be best but we used black).
- Glue if you want to decorate the frame
- Some Aquabeads!
Firstly, make your Aquabead space shapes!

The Deluxe Aquabeads pack has templates which you can use to make stars, planets, rockets and aliens (which is actually a bunny rabbit upside down) but you can of course make your own templates or freestyle.

The best kind of picture frame is one with a thick, wooden frame which can stand up on its own. We used an 8 x 6 inch frame.
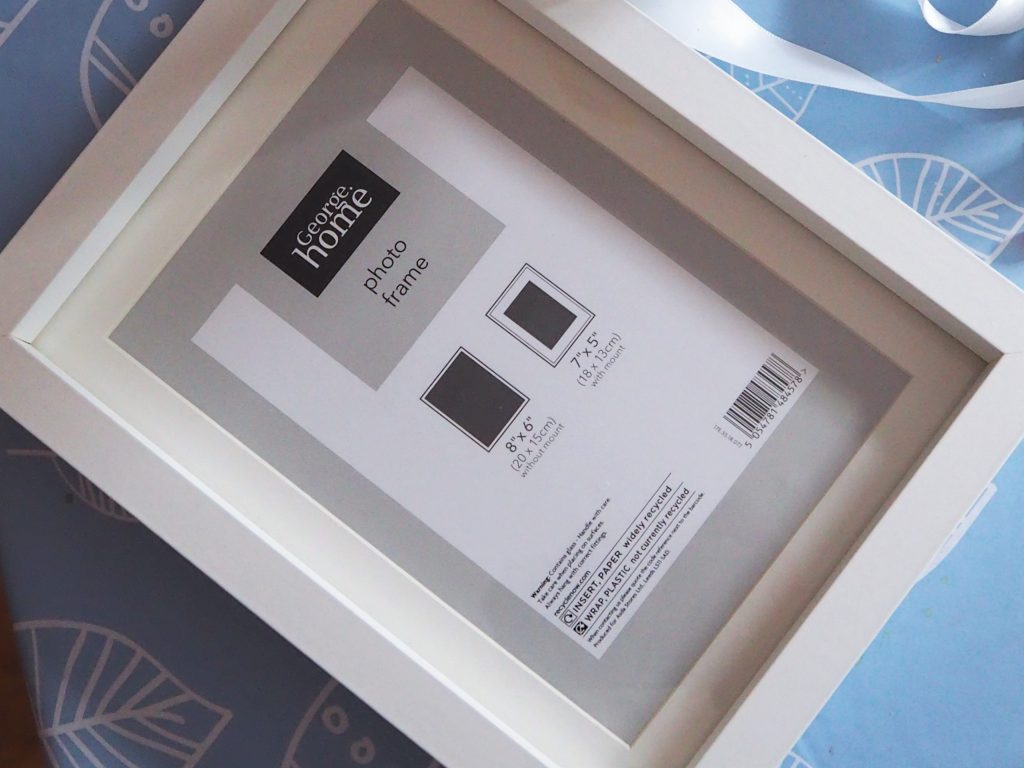
Take off the backing and remove the glass.
Get an adult to do this bit as they are very sharp!
Push the thumb tacks into the frame along the top and bottom.
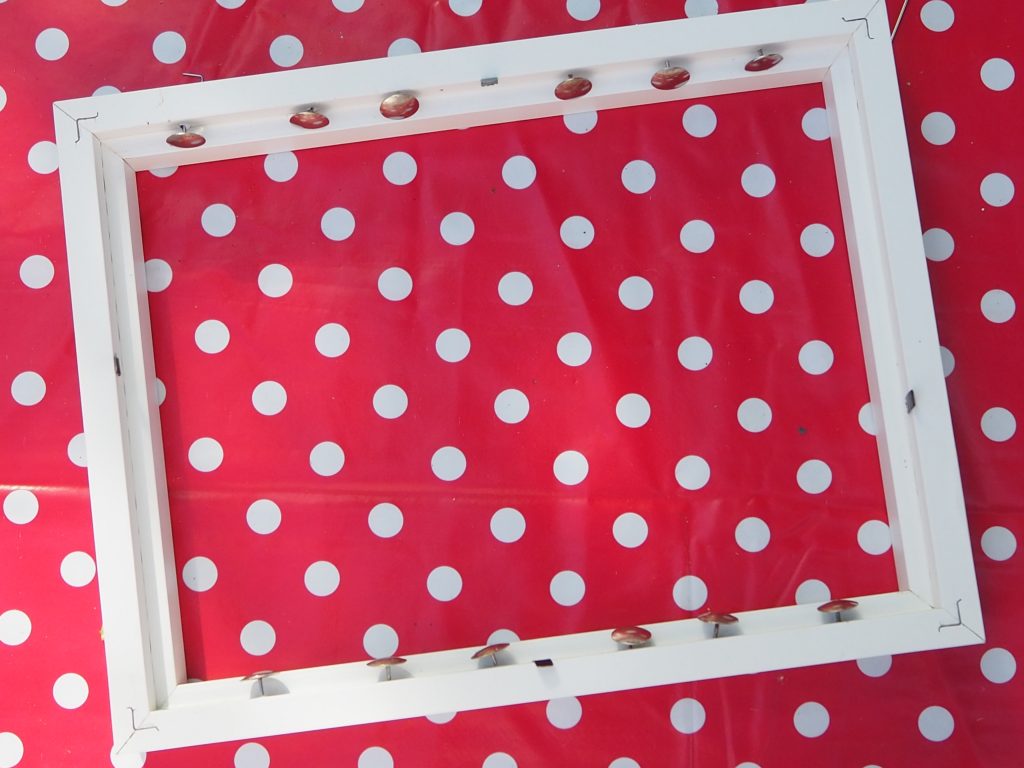
Next, thread the Aquabeads shapes; go in near the top and out near the bottom. When the thread is pulled taught, they will stay in place.
Tie the thread around the thumb tack and wrap it round a few times, pulling it tightly. If you have it, invisible thread is stronger and less likely to snap. Do the same with the other thumb tack and then tie off the thread tightly. Push in the thumb tacks as far as they will go to make the thread as tight as possible.
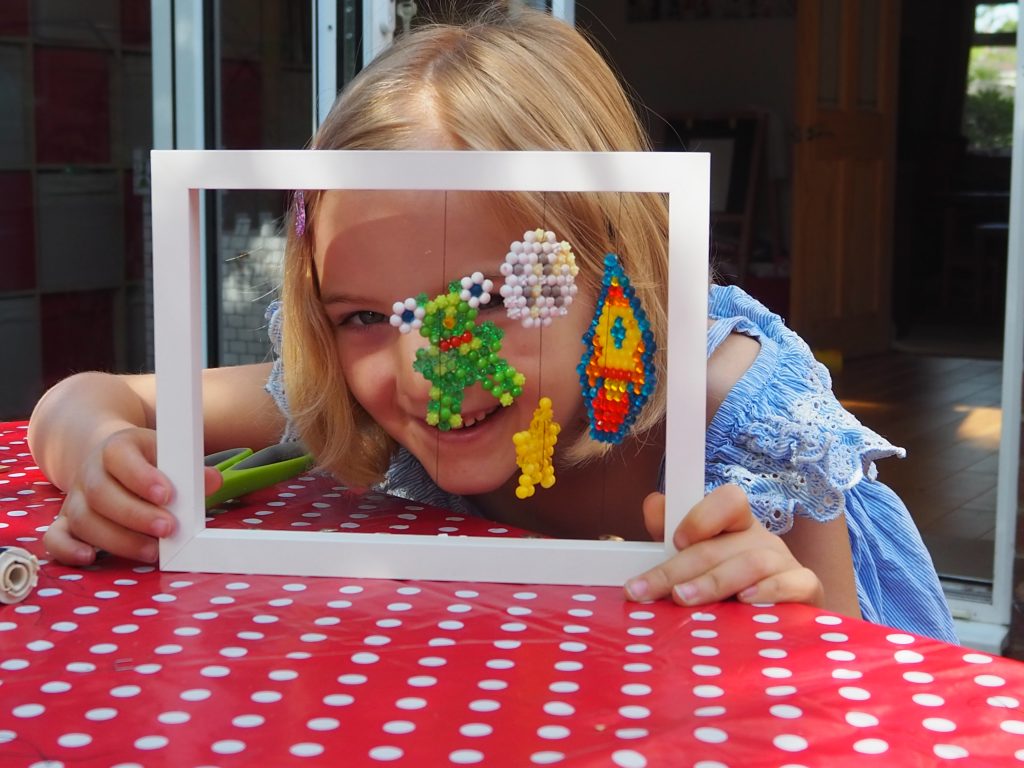
Repeat this with all of your shapes. You can save some to decorate the frame.
When the picture is stood up, they will spin around!
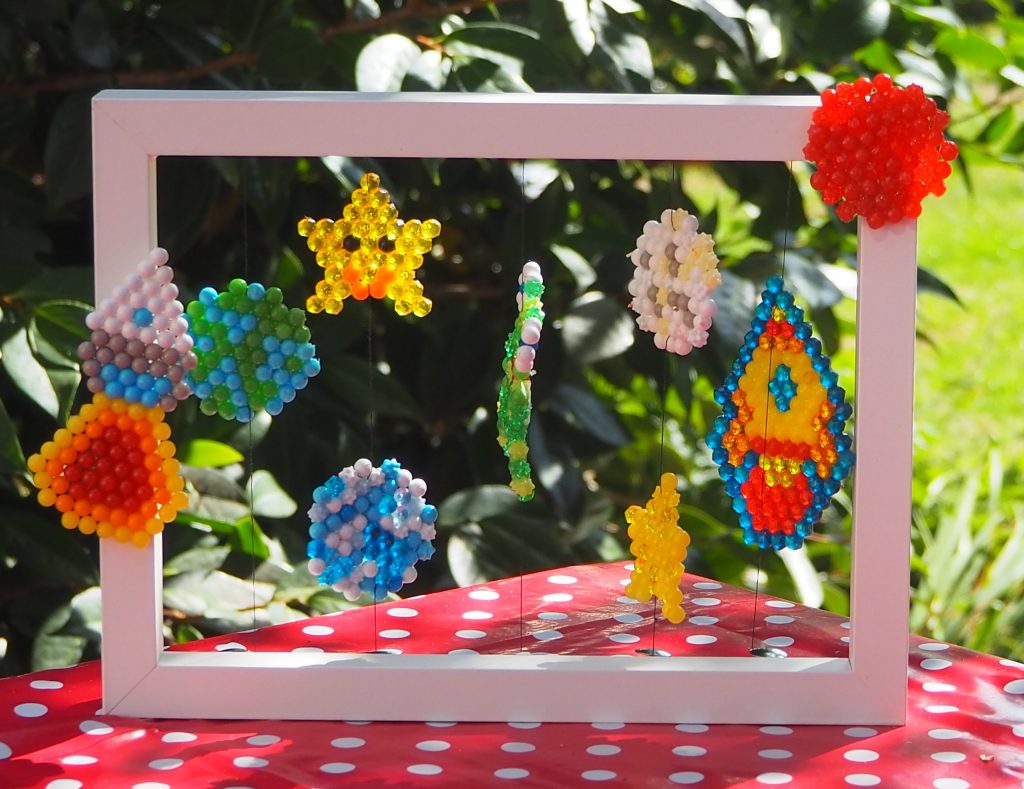
You could create your own space-themed background for the picture.
Or if space isn’t your thing, how about spinning flowers or animals?
You can find lots of Aquabeads templates on their website!
Where to buy Aquabeads
Aquabeads can be purchased from most major toy retailers and from Amazon, using the link below. They are recommended for children aged 4 and over, and are not suitable for children younger than three.