

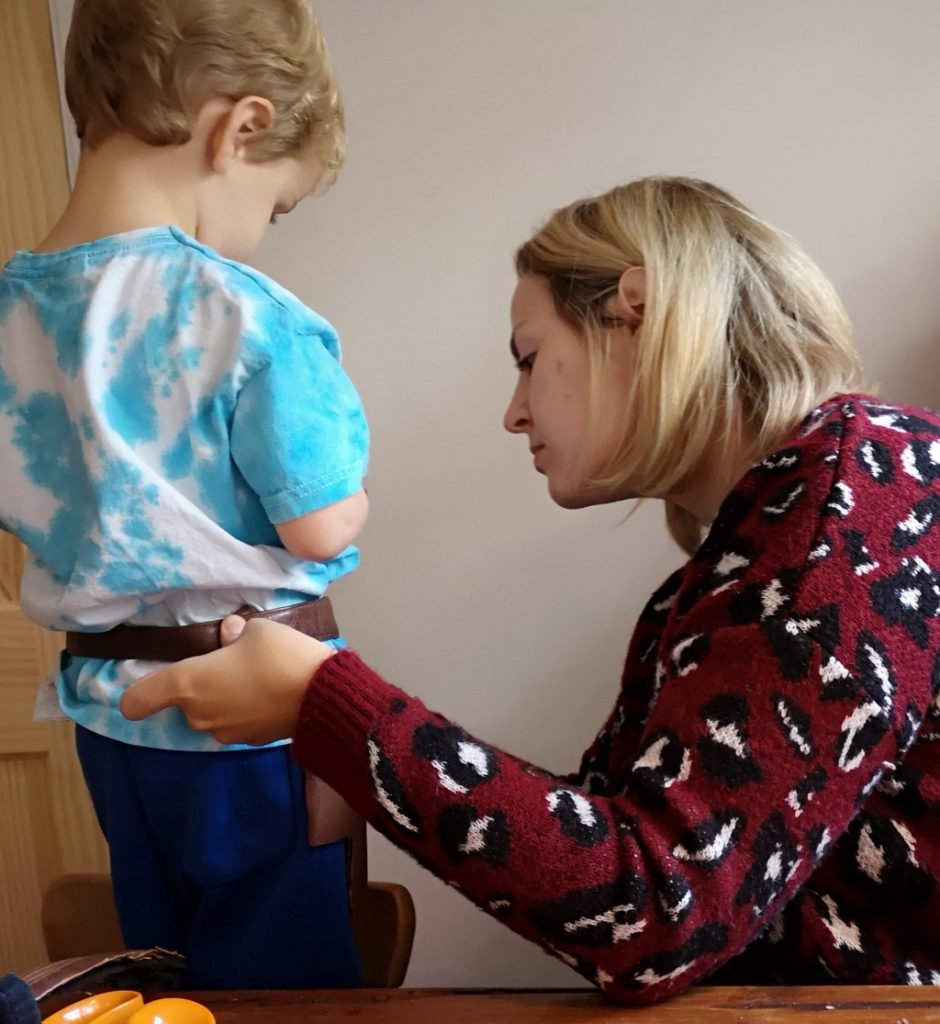
This year we made my smallest (aged 3) a Han Solo costume for Halloween.
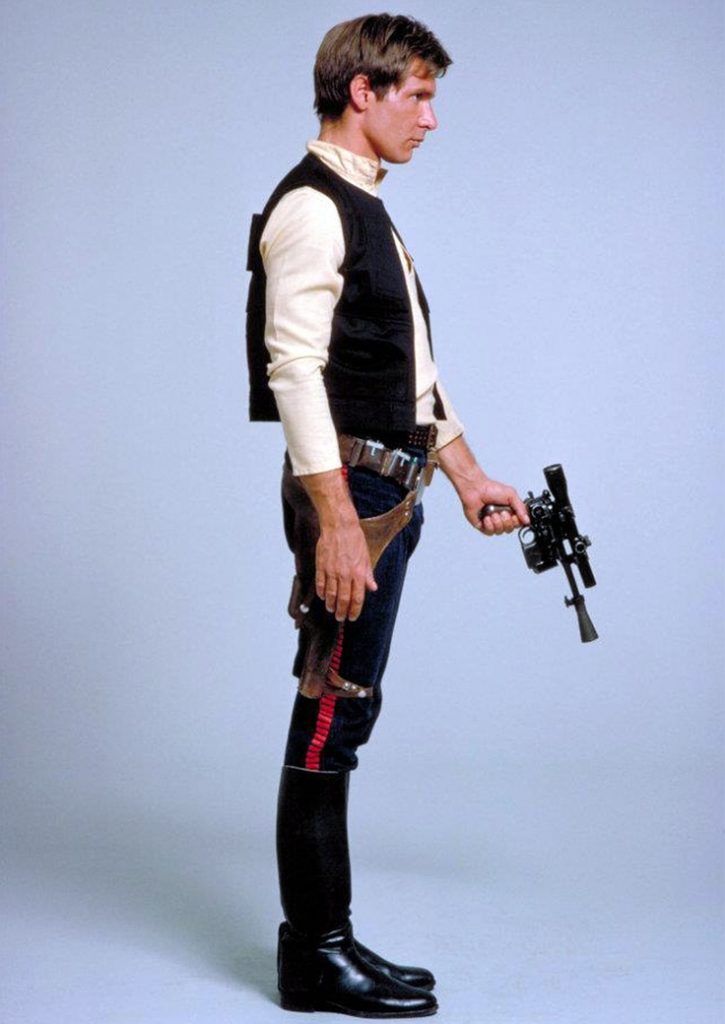
This no-sew Han Solo costume for children was based on Han Solo’s outfit from Star Wars: A New Hope (below).
It took about an hour once I had all the bits together, and I spent about £5 as I had most items in the house already.
I thought I would do a tutorial showingyou how I made this Han Solo costume so you can copy!
To make a Han Solo costume for your toddler or child you will need:
- Long-sleeved white t-shirt
- Short-sleeved black t-shirt
- Fabric scissors
- Hemming tape (non-iron is easiest!)
- Blue trousers (pants, if you’re American)
- Red electrical tape
- Sharpie
- A pair of old wellies (I don’t know what Americans call those, I’m all out of being helpful)
- Black spray paint
- On old brown belt/handbag
- Velcro
- Cardboard and tinfoil
- Superglue
- Optional: Tea bags
Shirt

I used a few litres of boiling water and four tea bags, and let the shirt sit in there for about five minutes.
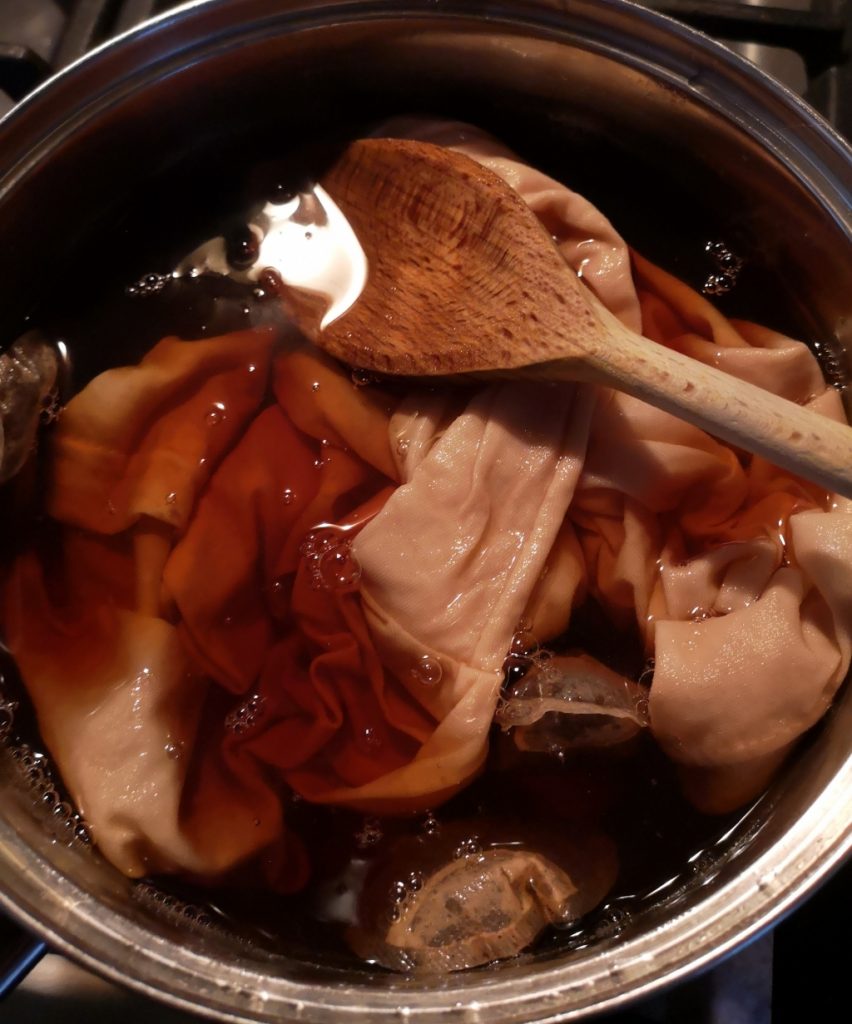
It came out a little darker than I expected, so I put it in the washing machine on a short cool wash and then tumble dried.
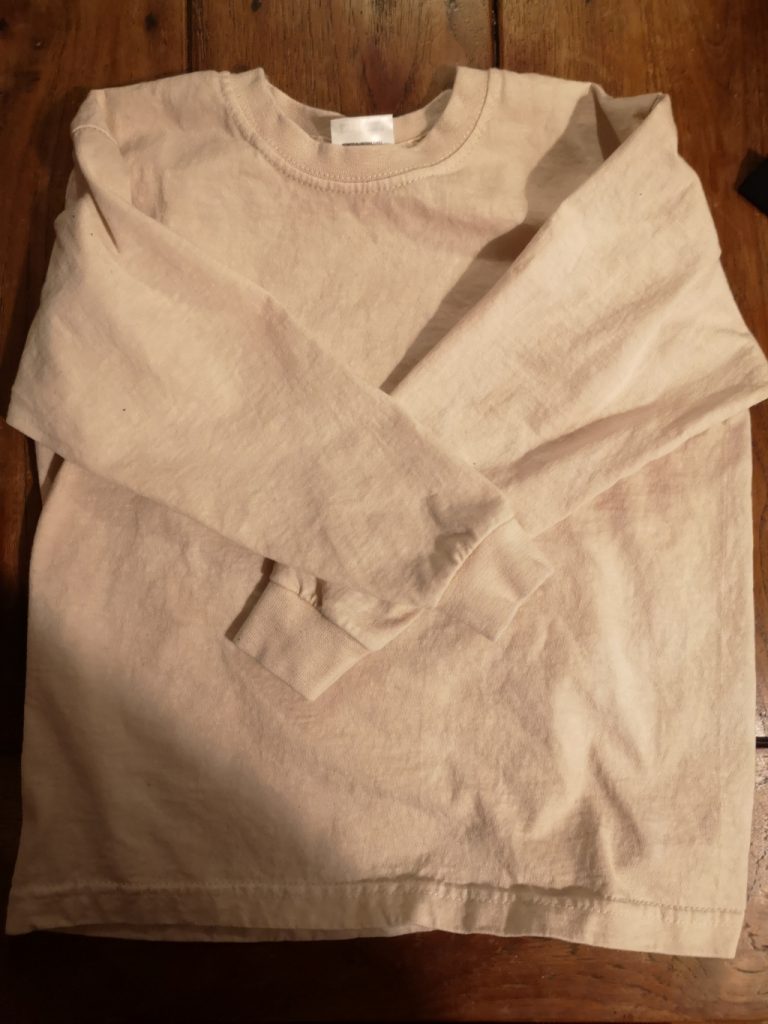
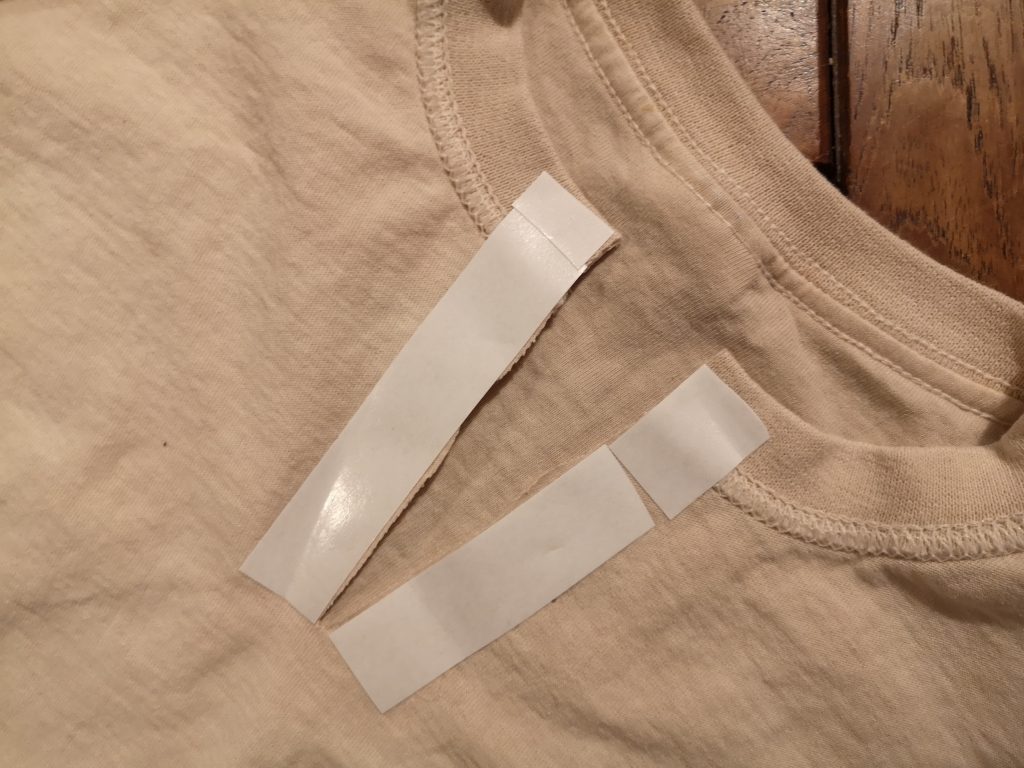
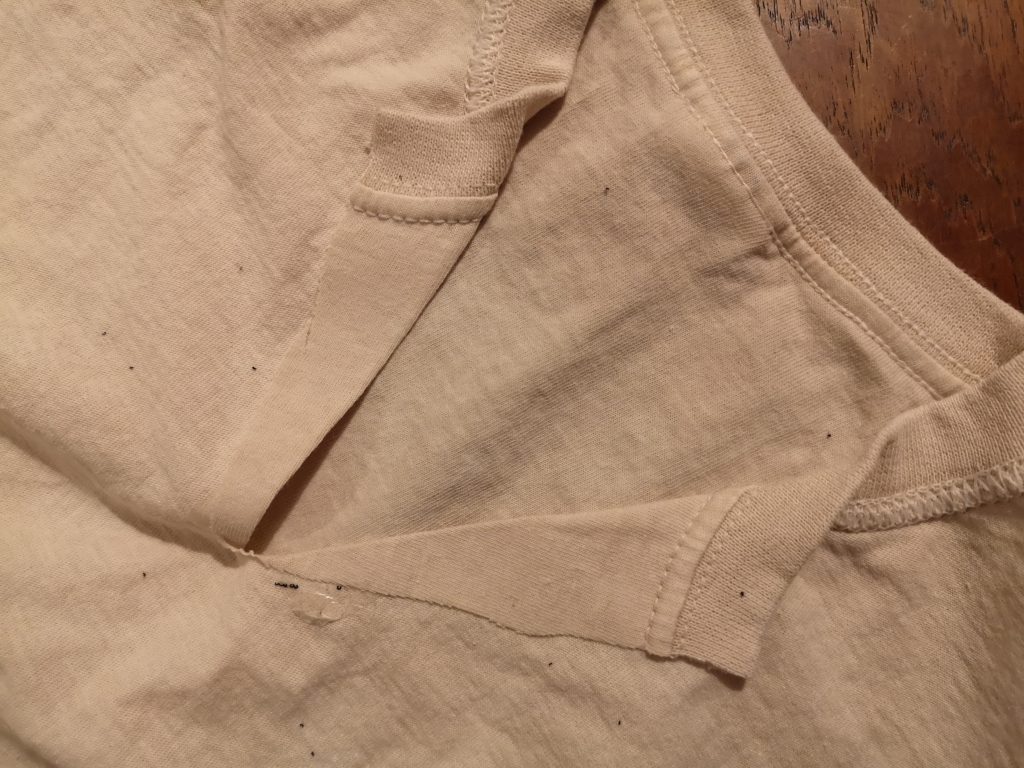
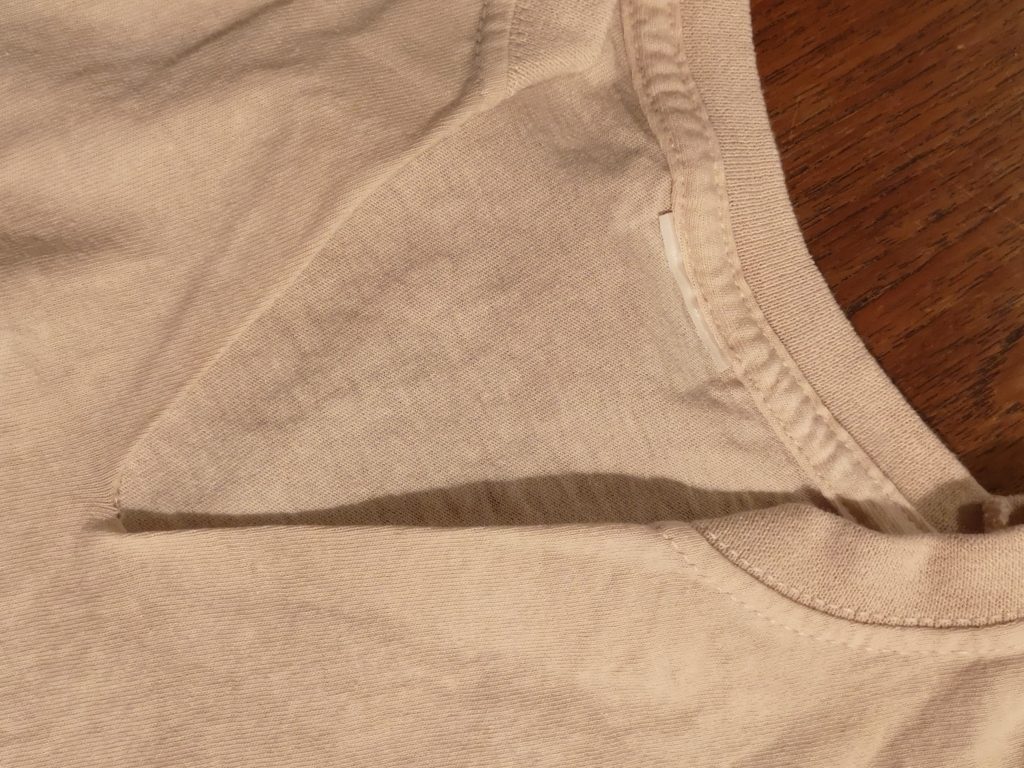
The neck of the shirt was cut into a v-neck by cutting a 3 inch slit down the middle and then hemming back with hemming tape. Easy!
Time: Ten minutes to dye, 20 minutes to wash, about 30 to dry and then a few to cut.
Waistcoat

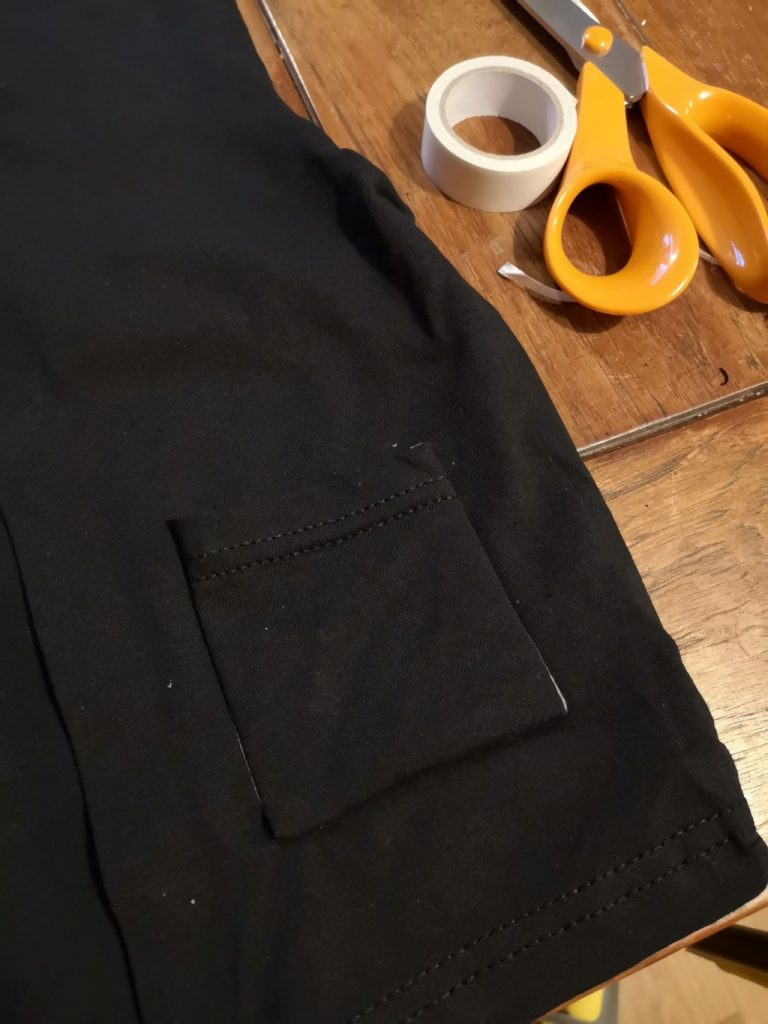
While the white t-shirt was in the washing machine, I cut the sleeves off the black t-shirt and then cut it right down the middle at the front (fold it in half and cut down with fabric scissors).

Using non-iron hemming tape, I hemmed the front edges. I cut the hemming tape to 1/4 widths to do the sleeves (tip: It is easy if you put it on the edge of the table and glide the scissors down).

I used the sleeves to make pockets using the same hemming tape; obviously these won’t actually stand up to having things put in them but they look the part!
Time taken: About 20 minutes.
Trousers/Pants
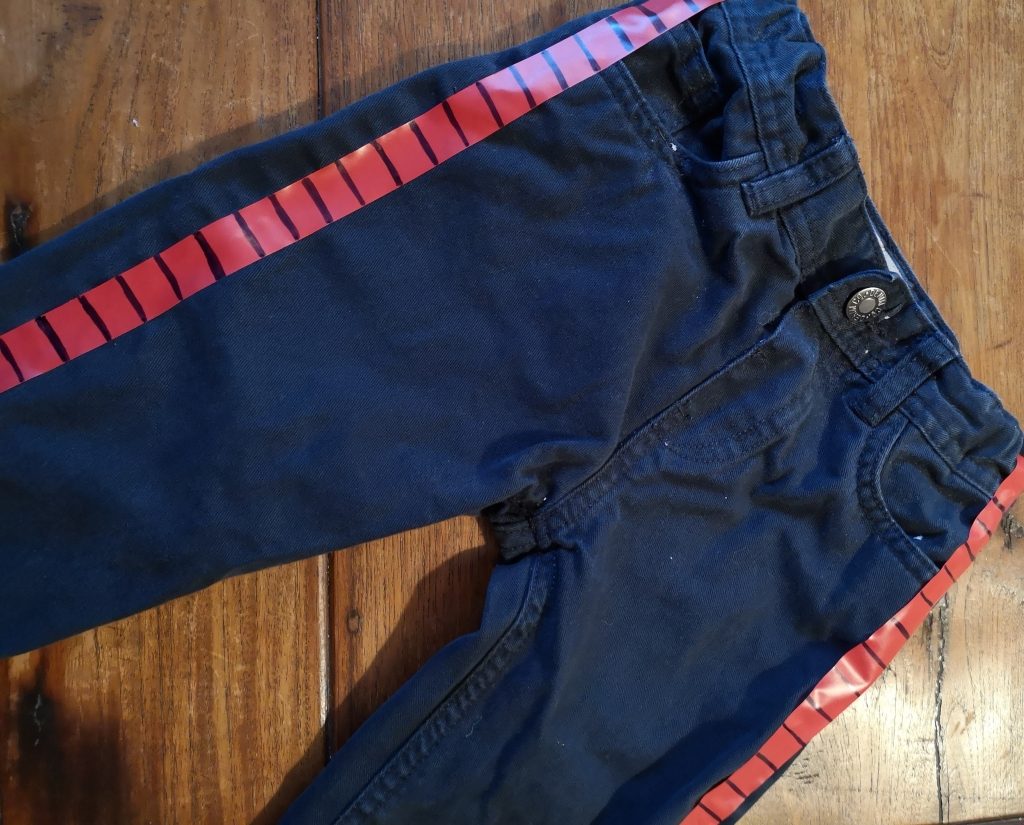
Cut the electrical tape to length, fix it along the outer seam of the trousers and use a sharpie to mark them every cm or so.
Time taken: About five minutes.
Belt & holster
The belt and holster is probably the most difficult part of the Han Solo costume, but it’s an important bit!
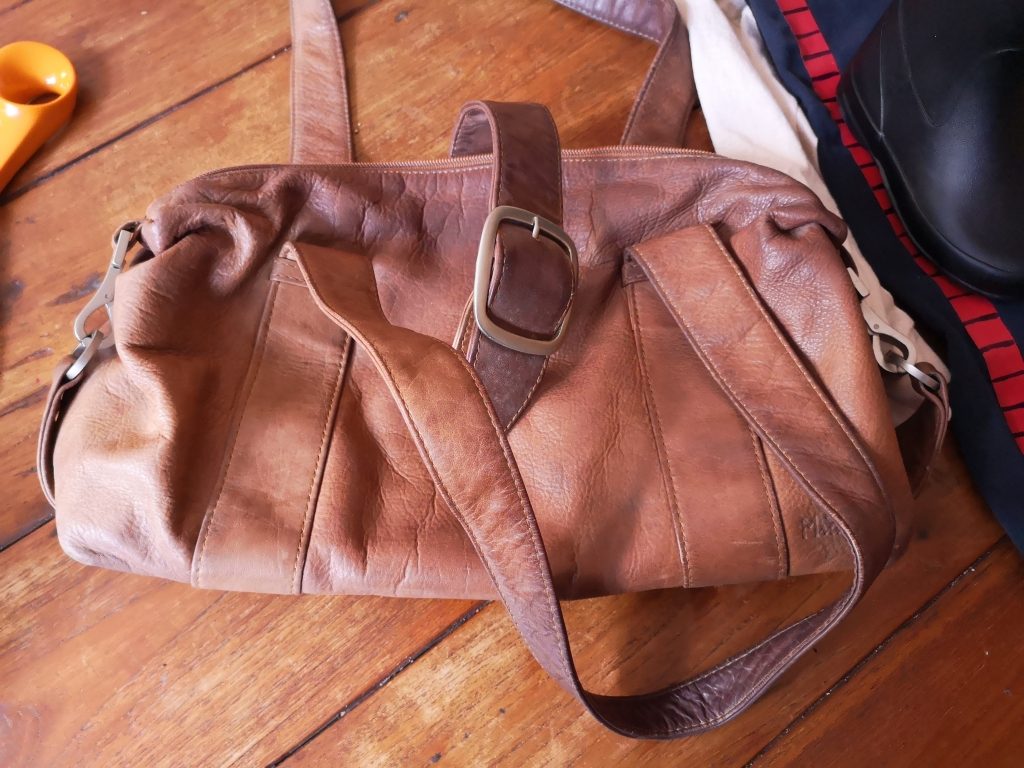
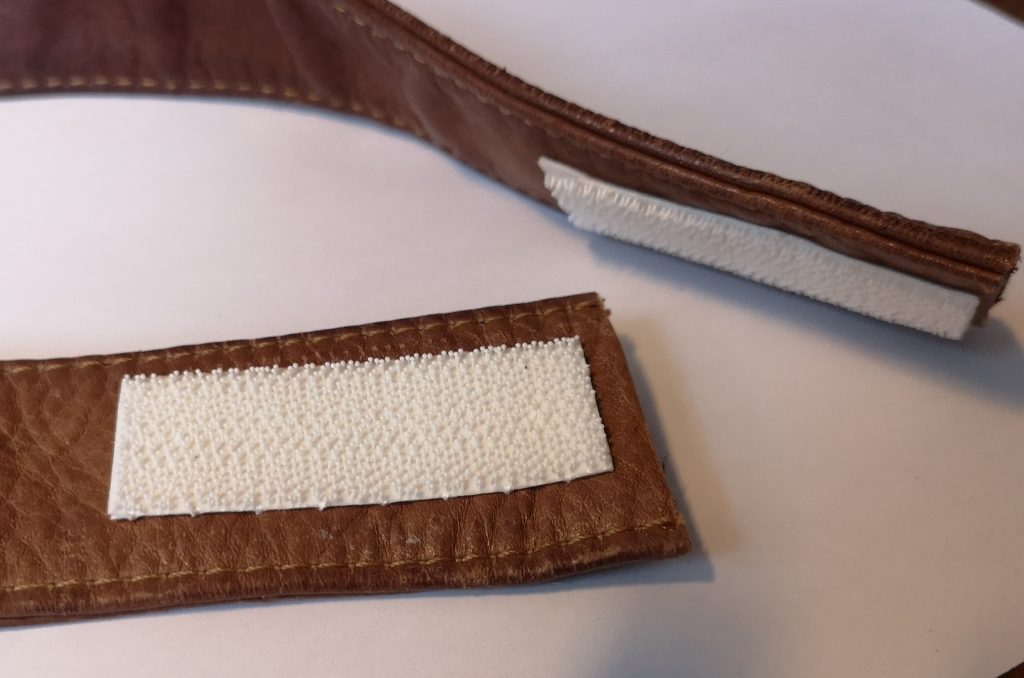
The easiest thing to do is sacrifice an old bag; you can use the strap and the material. I cut the strap off, then used velcro strips on the ends.
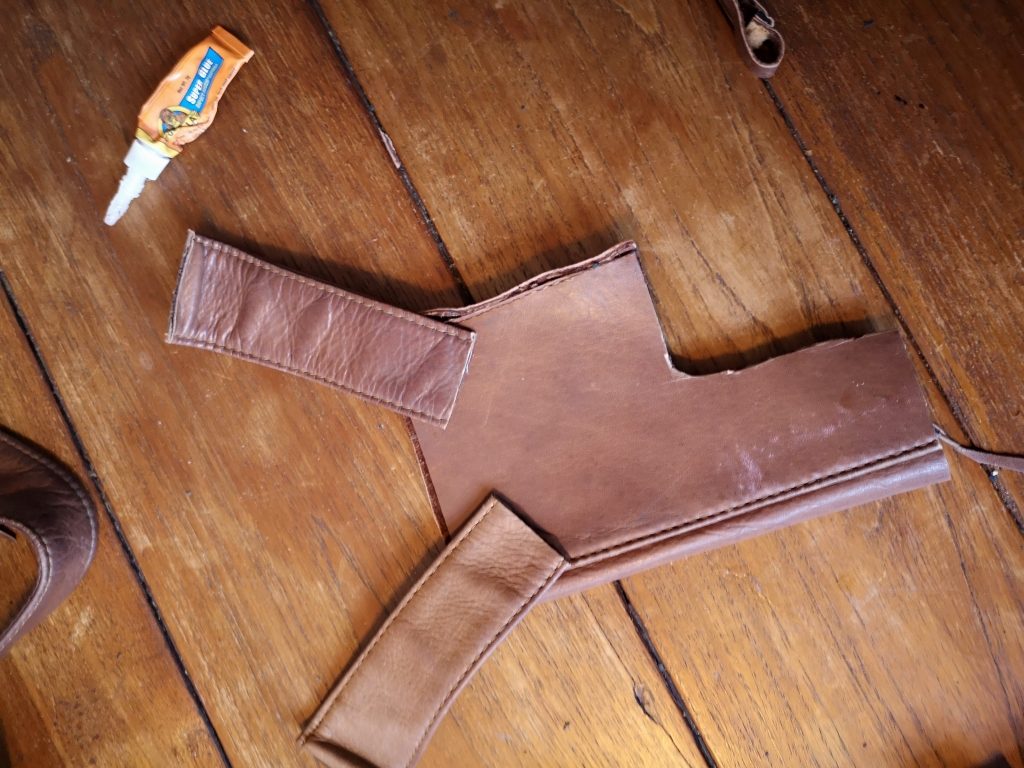
The belt buckle was cut from cardboard and covered in foil, and superglued to the end of the belt.

The rest was superglued together. I don’t expect it to last for years, but it certainly looks alright to me and it didn’t take too long.
The blaster is a genuine 90s Star Wars blaster from Grandma’s attic.

Time taken: About 20 minutes
Boots

These were super easy; we had an old pair of hand-me-down wellies and some spray paint, and boom!
Shiny Han Solo boots. Make sure you do it outside on a bit of cardboard.
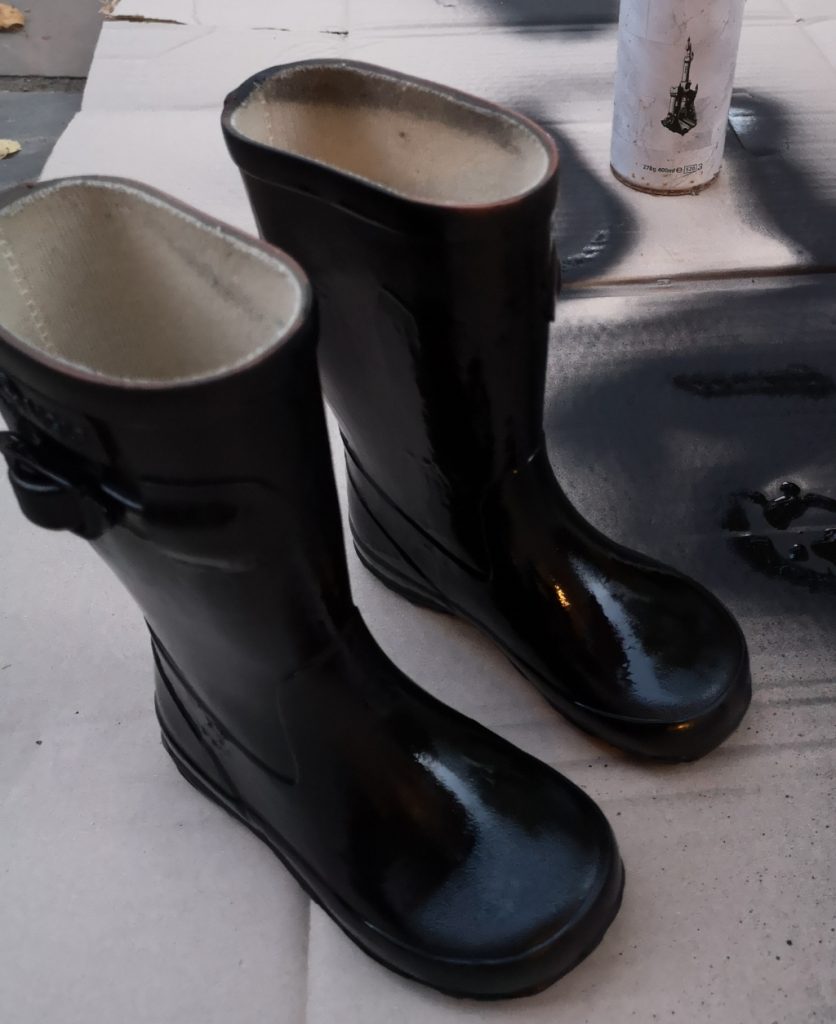
Time taken: A few minutes
The Han Solo costume obviously needs to be finished off with Han Solo’s co-pilot, Chewbacca.

Take a peek at our review of the Ultimate Co-Pilot Chewie (TBC) or the Posh Paws Chewbacca Plushie (here)!

Let me know in the comments if you’ve found this DIY Han Solo children’s costume tutorial useful!
The final Han Solo costume (as modelled by my three year old).

Purchase from Amazon:
Pin it!

This is a great tutorial. What a great, easy and inexpensive way to make my little Star Wars fan into one of his favorite characters. Thanks for all the details!
so cute!