
Introduction
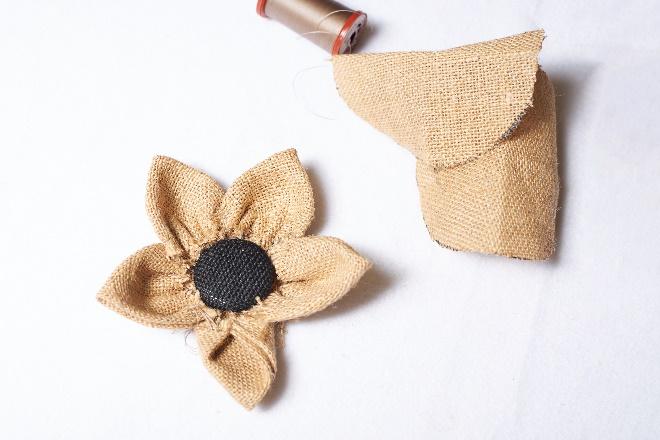
Hey there, wonderful readers! 🌸✨We have a fantastic project idea to share with you: burlap flowers. Burlap flowers are easy to make, and they can be a charming addition to your space. Get your sewing supplies ready and sit back and join us as we show you how to make your own burlap flowers.
What is Burlap Fabric?
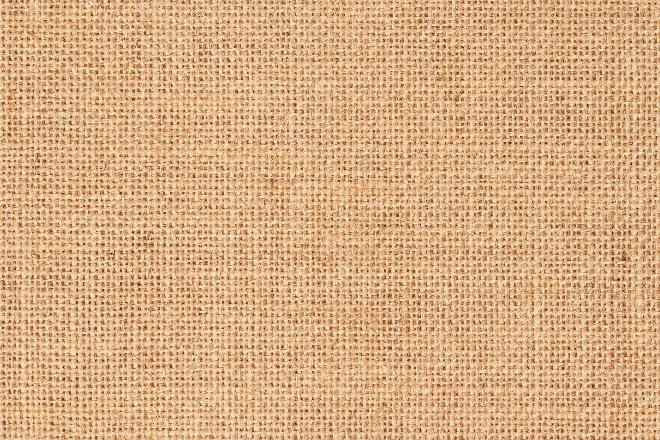
Burlap fabric is a textured, durable, and breathable fabric. Sourced from natural jute fibers, this sustainable fabric is environmentally friendly and biodegradable. Available in a variety of dyed colors, burlap fabric has a rustic appearance and appealing texture. Burlap provides that cozy, farmhouse style that so many of us love, which makes it the perfect fabric choice for making decorative, burlap flowers.
Types of Burlap for Making Flowers
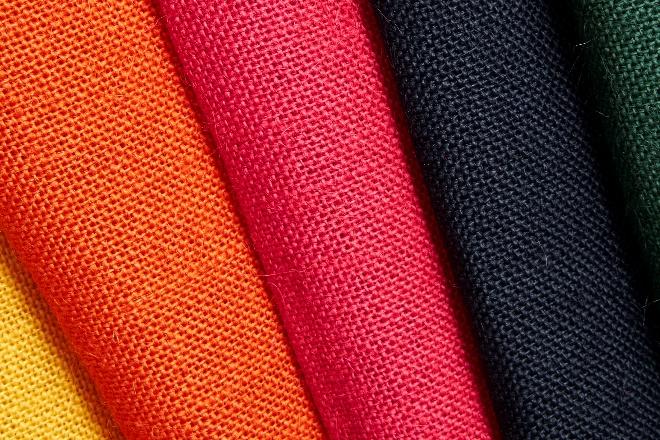
Not all burlaps were created equally! Burlap fabric can be found in a variety of styles, colors, and widths. For this project opt for a medium-weight, tightly woven, and small width fabric. This ensures durability, easy manipulation, and less unused material when working on this project. Furthermore, it is suggested to stick with classic, earth tones, for a more natural look. That being said, feel free to experiment with bright colors to make some unique, eye-catching burlap flowers.
How to Make Burlap Flowers – Step-by-Step Tutorial🌼🧵
Now it’s time to roll up our sleeves and start making our burlap flowers.

Supplies You’ll Need:
- Burlap Fabric: You will need approximately a 10” X 36” piece of material.
- Scissors: A good pair of fabric scissors will make the cutting process a breeze.
- Compass: A compass or circle maker for tracing. Alternatively, you can trace a similar sized object.
- Glue: A crafting essential for securing layers and embellishments.
- Buttons or Beads: Choose various shapes and sizes to add a personalized touch to your flower centers.
Step 1: Cut Your Burlap Strips
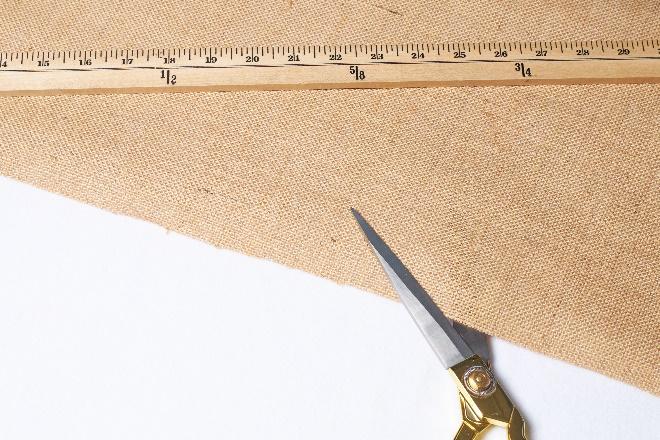
Start by cutting your burlap. You will need a piece of fabric that measures approximately 10 inches wide and 36 inches long.

Step 2: Trace Outlines Of The Shapes
In this tutorial we will start by tracing five, 5-inch circles. Additionally, trace one 2 inch circle.

Step 3: Cut Out The Shapes
Using a pair of scissors, cut out the circles. Don’t worry, they do not have to be perfect; in fact, irregular shaped circles will give your flowers character.

Step 4: Fold The Large Circles
Fold each of the five, large circles, in half, twice. The circles should be quartered, and they should look like two slices of pizza.


Step 5: Create The First Petal
Take the curved part on one of the folded circles and sew a running stitch through it. Pull the thread to gather the fabric, and then place a stitch to lock it in position.

Step 6: Sew The Next Petal
Using the same thread, sew a running stitch on the next folded circle, and gather the fabric. Place a stitch to lock this petal in place. You should have two connected petals.

Step 7: Finish The Petals
Using the same thread, repeat the process for sewing the petals. When you have completed all of the petals, secure the last one onto the first.
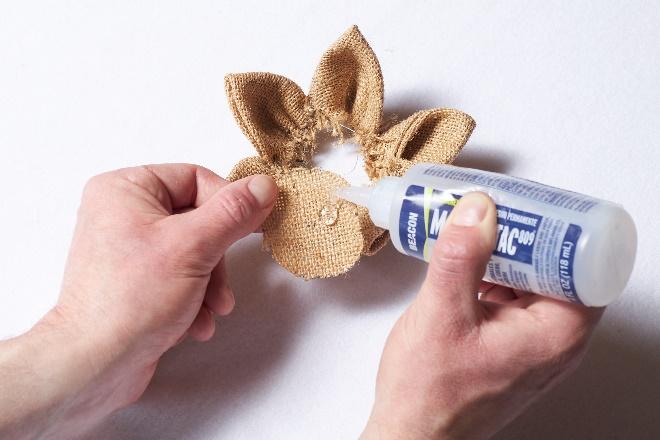
Step 8: Attach The Backing
Using an adhesive, glue the smaller circle onto the back of the flower to hide the stitching.

Step 9: Sew The Button
Finally, sew your button onto the front of the flower. Your burlap flower is now complete!

Conclusion
There you go – an easy DIY burlap fabric flower. The possibilities of what can be done with burlap flowers are endless. Add these to shirts, headbands, or even create everlasting decor. The key to making burlap flowers is to experiment and have fun. Be sure to check out Fabric Wholesale Direct for all of your fabric needs! Enjoy your new floral arrangements.